How to cancel/delete an event
School admins will now have to ability to cancel and reschedule events from within HQ.
When an event is cancelled, you have the option to have us automatically send out emails to notify all who purchased tickets of the cancellation. Refunds will automatically be processed for all who purchased tickets. If you would like the refund process expedited, we kindly ask that you write in your cancellation request.
When an event is rescheduled, tickets will automatically be transferred over to the new event day. Ticket purchasers will automatically be notified of the date change.
How to reschedule an event -
Step 1:
You can reschedule your event from your event dashboard, as seen below.
Step 2:

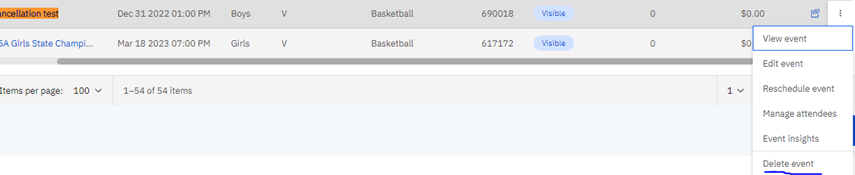
How to Cancel an Event from Dashboard -
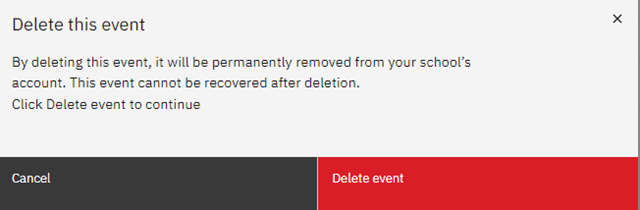
On your event dashboard, you must navigate to the three dots on the right-hand side of your events, and there you will see the option to cancel your event. You will then receive a warning message to ensure that you want to proceed with canceling/deleting your event.
Step 1:
Step 2:
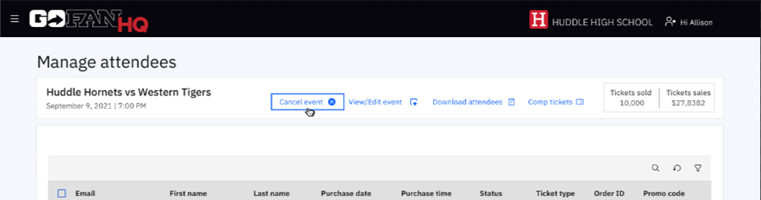
Inside of manage attendees -
You also have the option to cancel the event in the manage attendees section, as seen below.
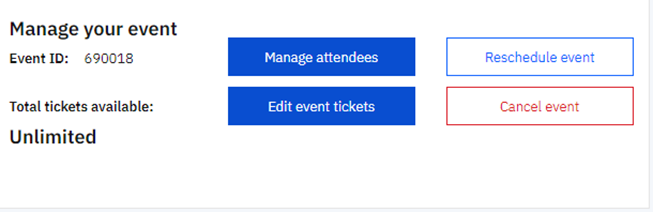
Inside of your event in HQ -
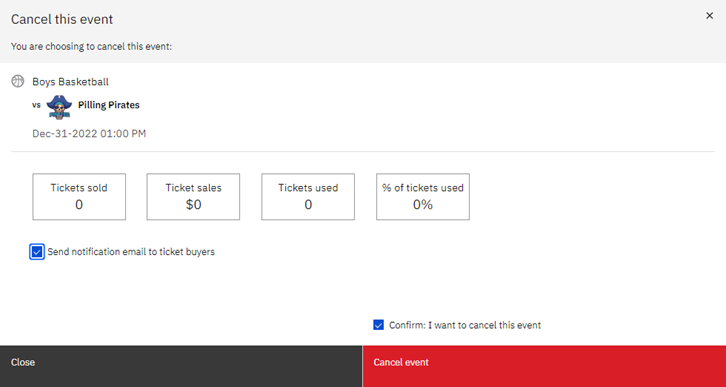
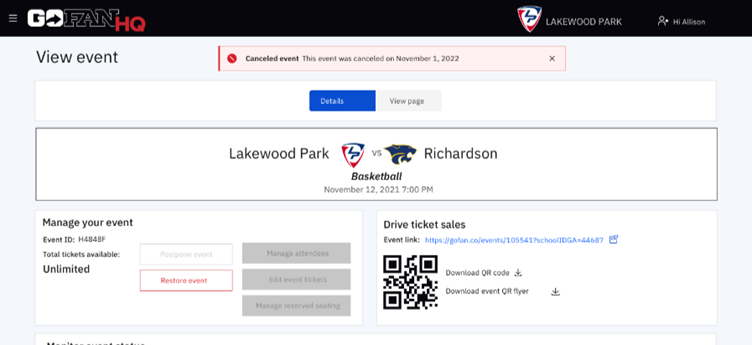
Like your event dashboard, you must check a box to ensure you want to cancel the event and send notifications to those who purchased tickets. You will also have a detailed description of the tickets sold, ticket sales, tickets used, and % of tickets used. Once your event is canceled, you will still have the option to restore your event as well.
Step 1:
Step 2:
Step 3 (canceled ticket):

Step 4:
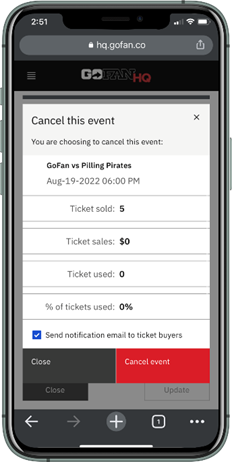
Mobile HQ –
Cancellations inside of mobile HQ are very convenient! You will now have the option to cancel the event by following the few steps below.
Step 1:
Navigate to the event that you would like to cancel and clone the “edit” button
Step 2:
Scroll down to the bottom of the edit screen and click “begin cancellation” and you will arrive at this screen.
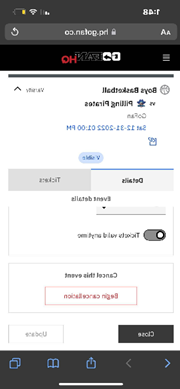
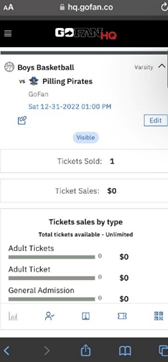
Step 3:
Here is a screenshot of the event details page via mobile HQ.